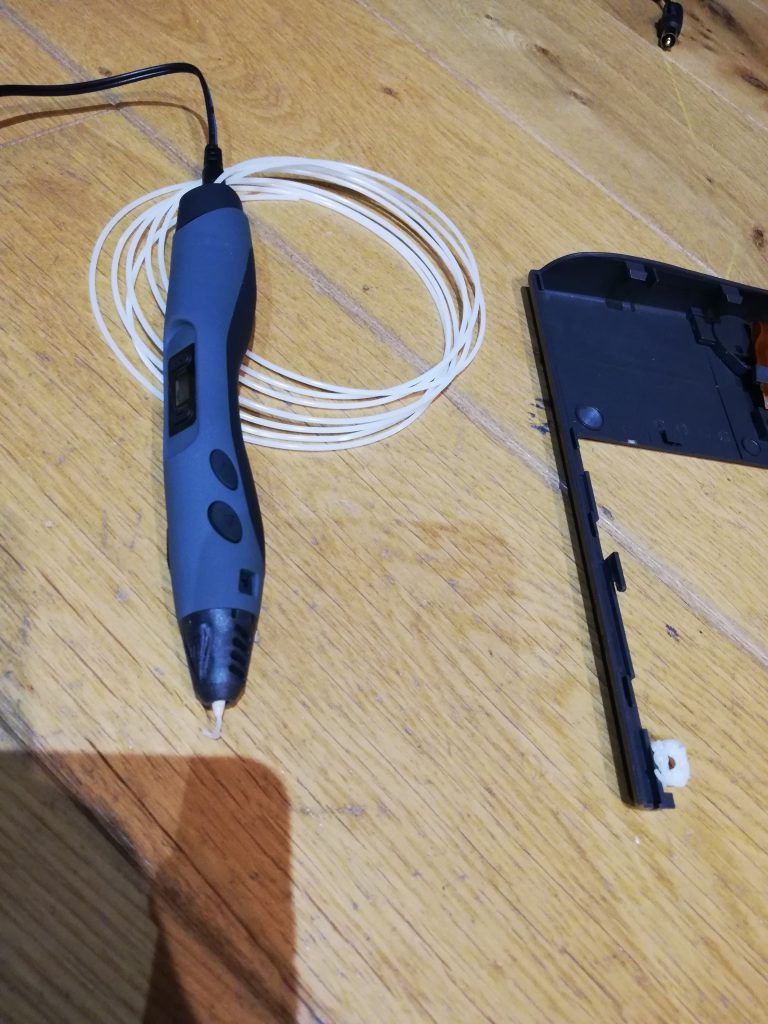
I recently bought a 3D pen at Amazon for 30 quid, just to see what can actually be done with it. You can think of a 3D pen as been a “hand 3D printer device”. It really allows you to do some crazy stuff.
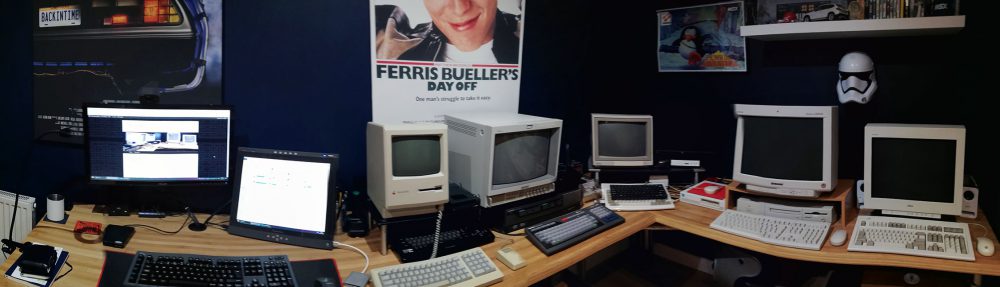
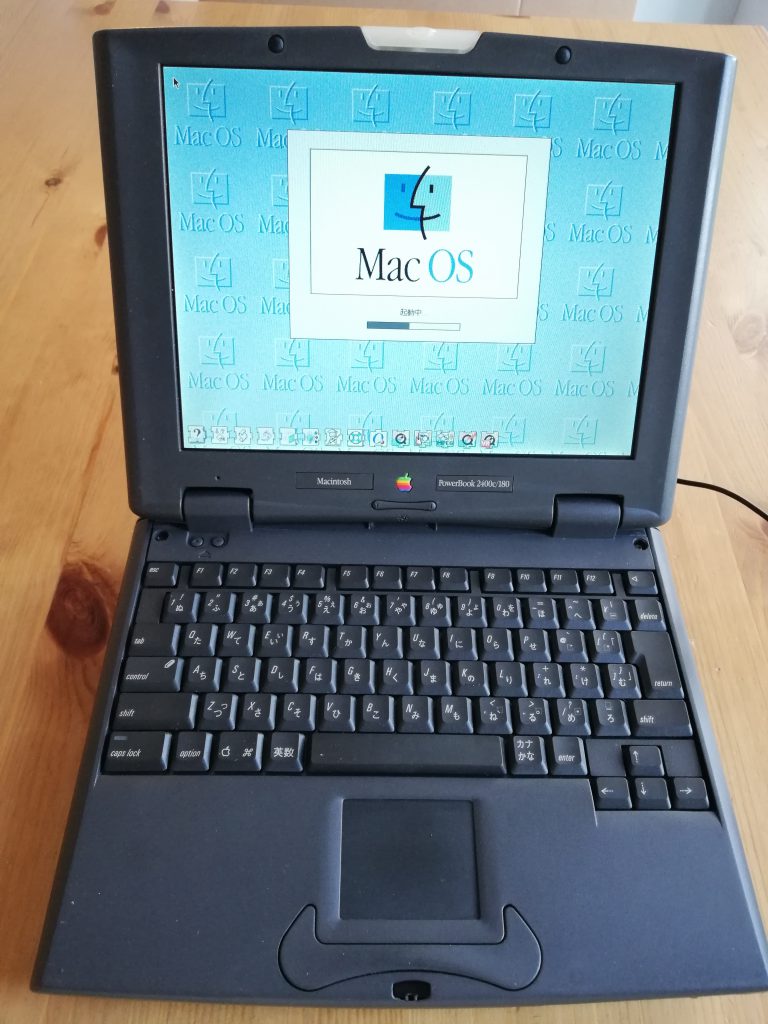
The one I bought came with ABS and PLA filaments (same ones used on 3D printers). I played a bit with it, but didn’t go too far. Then, a Powerbook 2400c I recently acquired at eBay arrived. Seller said it was in good condition, and he wasn’t lying. It looked amazing and – almost – everything was working. I realised the trackpad click button wasn’t working. But that was it. See the beauty below.
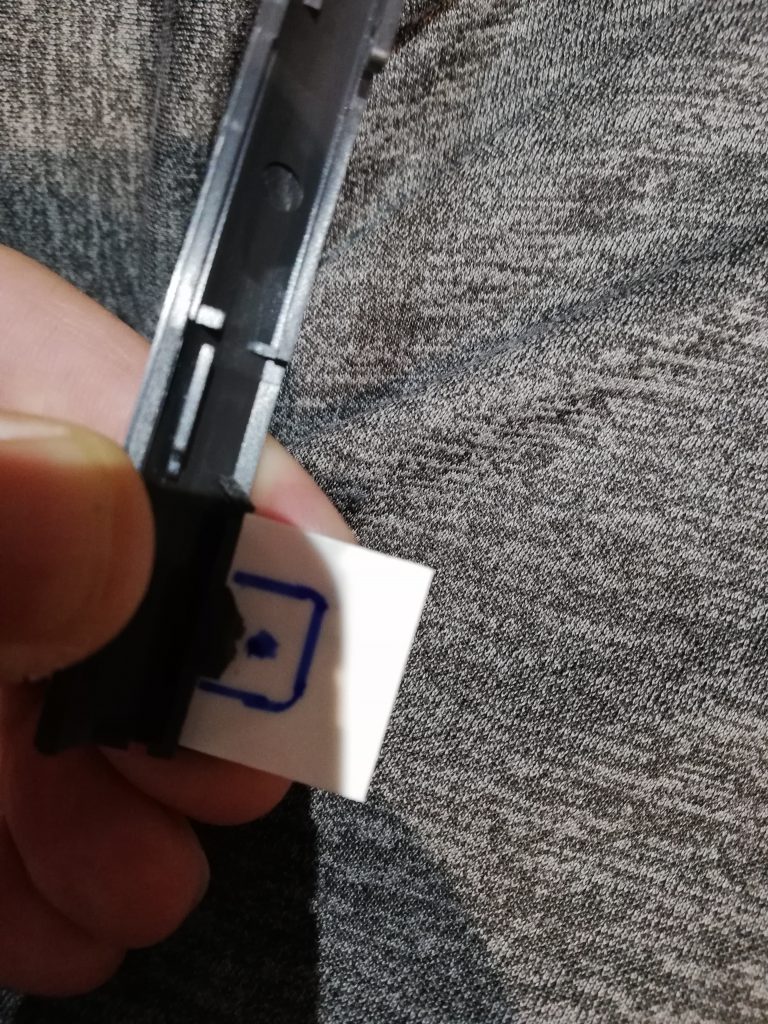
So, I decided to open it up to take a closer look and see if it could be repaired. During the process, I noticed that a plastic support was broken on the inside. And it was a bit that should be secured by a screw, so I thought on fixing it. I tried in the past a few methods, none of which with great success. I tried creating some plastic cement using acetone, using superglue and sodium bicarbonate, and even plastic welding. None was strong enough to hold a screw in place.
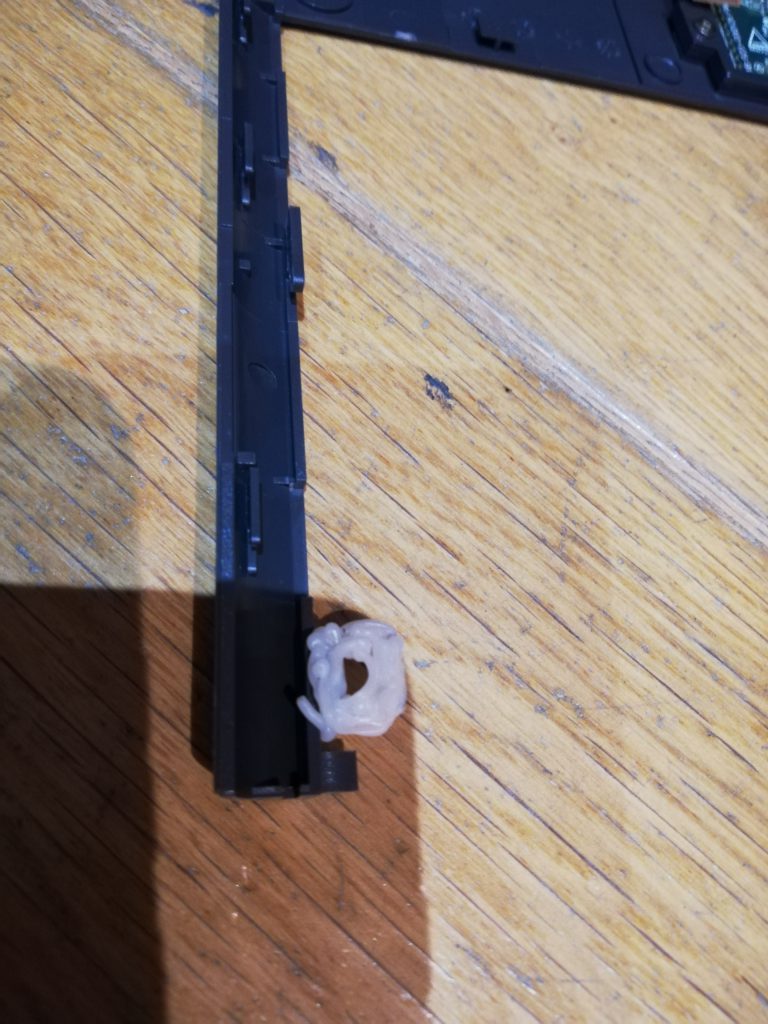
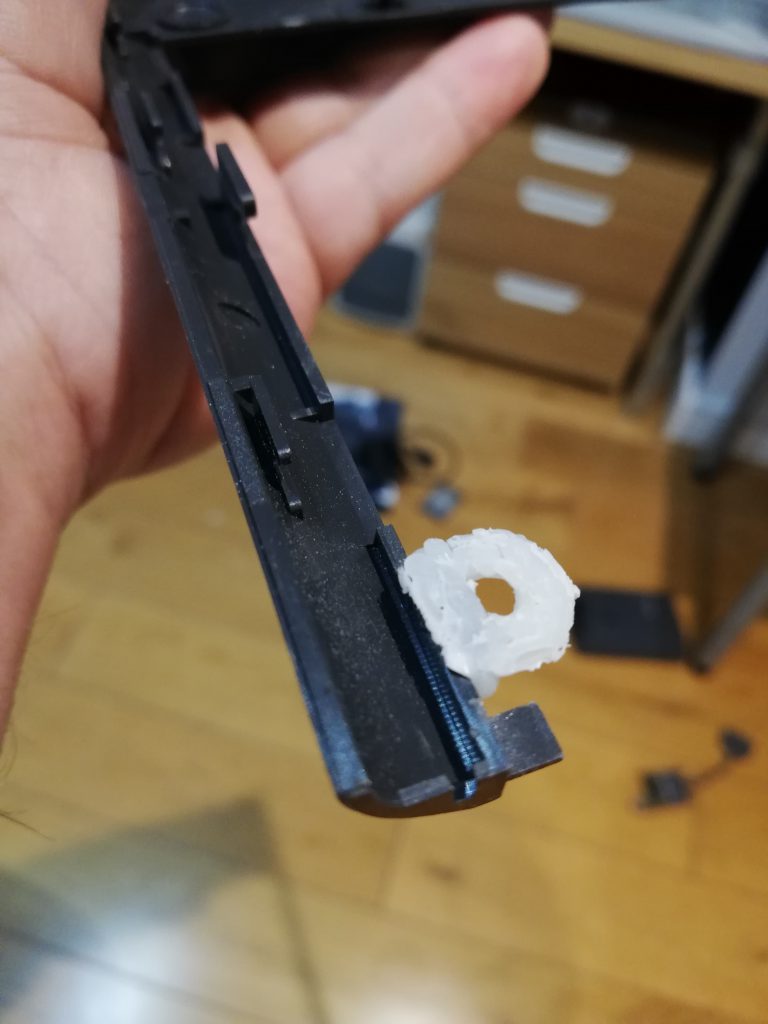
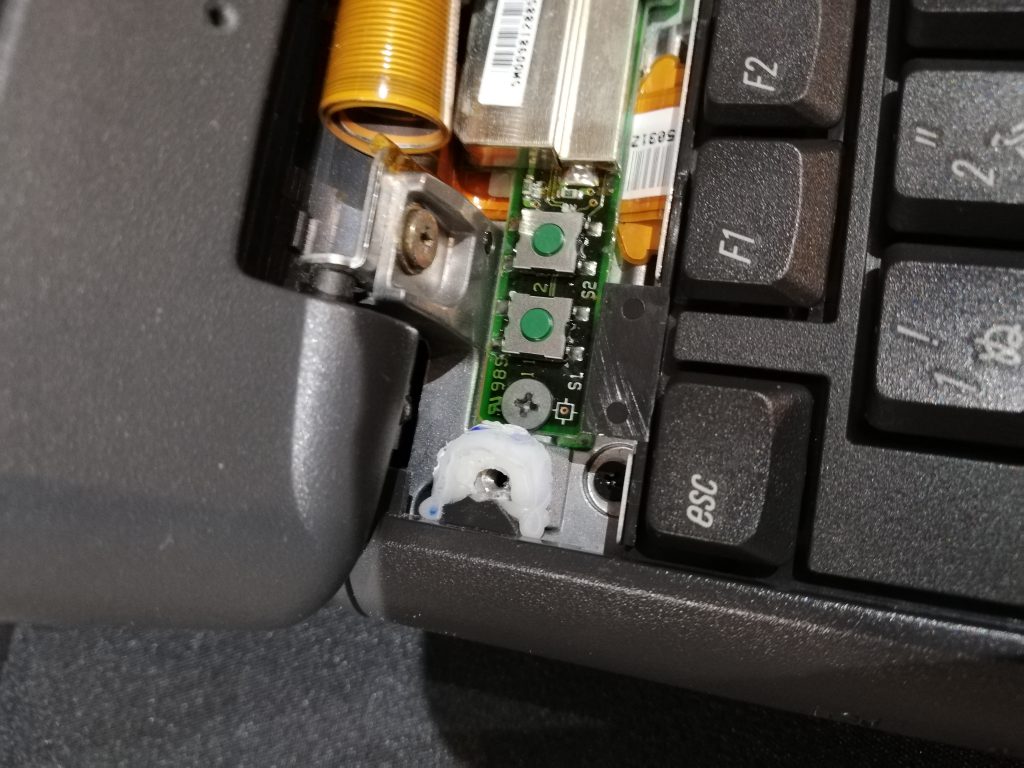
Then, it hit me… what if I tried using the recently acquired 3D pen with the ABS filament? So, I tried. And it worked! See pictures below. The plastic bonding is really strong, and it held very well.
So, there you have it… another use for 3D pens 🙂