Wait… what??? VMWare ESXi on a Macintosh SE?
Reply
Have been working on my Mac Plus for a while, and I wanted it to be able to boot from an external SCSI drive. Up to now, I was using a Iomega Zip Drive (after sweating a lot to get it to work with the plus), but Zip Drives are not really reliable (specially an almost 25 years old one).
So, searching on the net, I realized many people complained about the inability of the Mac Plus to boot from an external SCSI2SD. On top of that, the fact that the Mac Plus is one of the few Macs that doesn’t provide SCSI bus termination power forced the external SCS2SD card to be powered by an external power source (i.e. USB or something else).
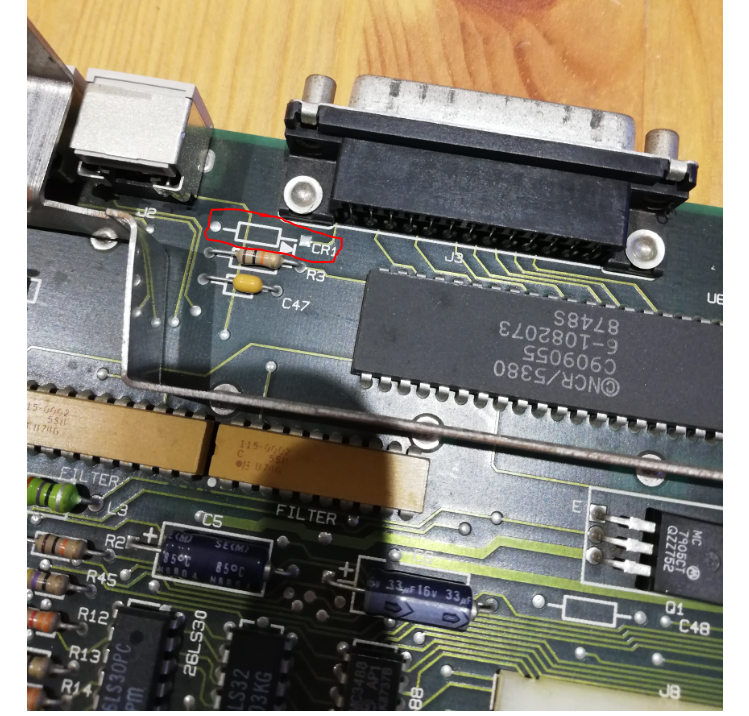
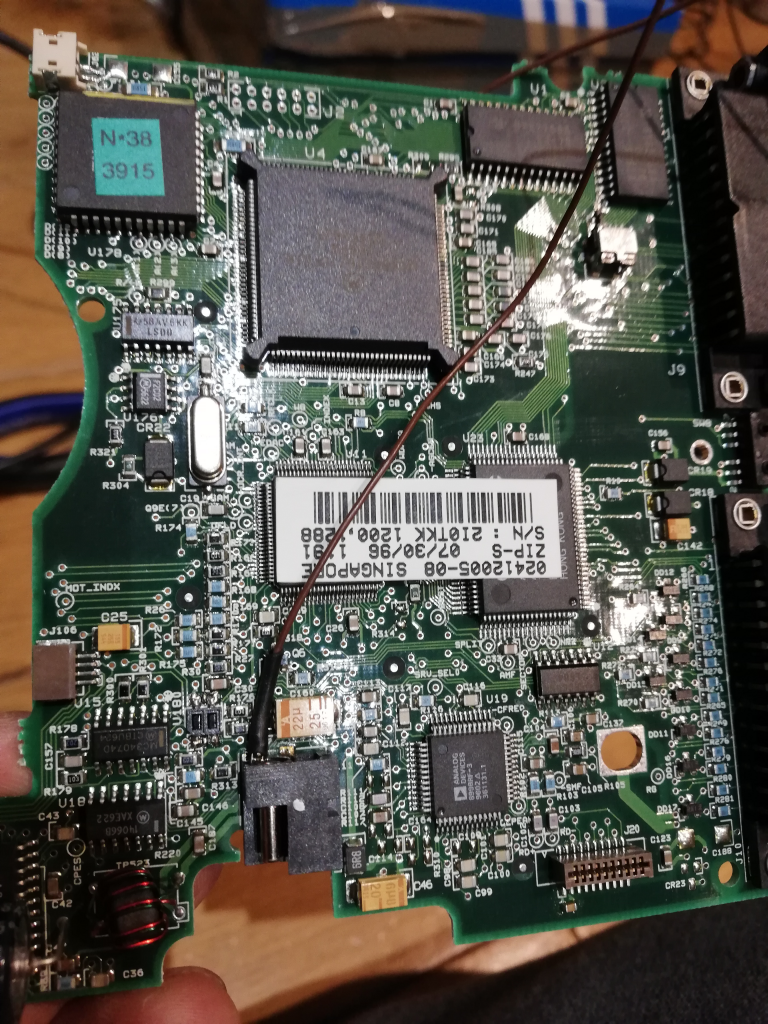
Looking further, I found some old documents and discovered that it was possible to add SCSI Bus termination power to the Plus. A very simple mod allowed for that. In fact, the ONLY thing needed is the addition of a diode to the logic board, right behind the SCSI connector. Funny thing is that Apple, apparently, accounted for that in the past, as the diode “place holder” already exists in the board (position CR1, as highlighted in red in the picture below).
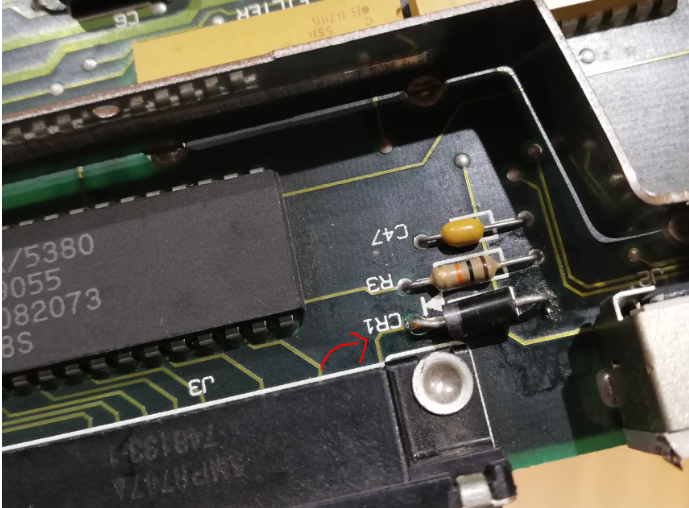
So, I took a deep breath and decided to attempt the mod. In the picture below you can see the diode soldered to the place holder. I used a diode recovered from an old power supply I had. Its markings were UF2010 (UF stands for ultra-fast). It supports up to 1000v, but of course, in our case, only 5v will be crossing the diode. Be careful to solder the diode following the markings. Diodes allow for current to flow through one direction, but not the other. Adding it in the wrong direction would create issues. You don’t have to use the same diode I used. A more common one – such as a 1n4001 – would do just fine. Just make sure it takes 5v or more and about 1 amp (or more).
I wasn’t much confident this mod would work, as it was way too simple. But it did! In the video below (sorry about the quality, still learning how to create good videos) you can see the solution fully working on a Mac Plus.
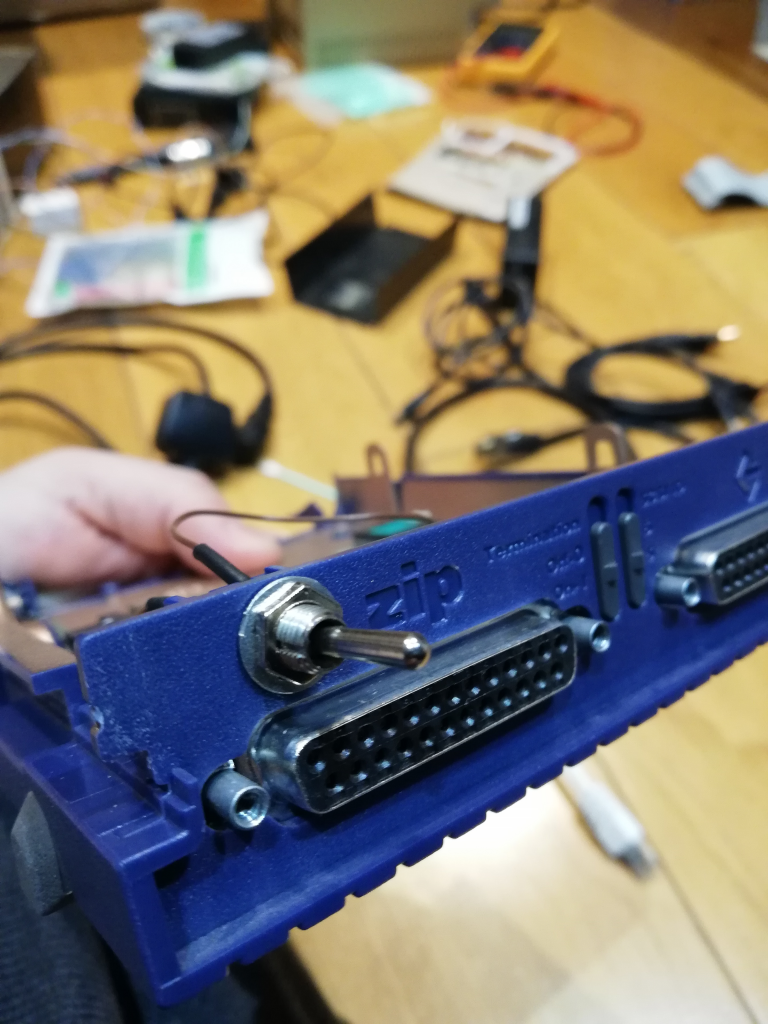
The first batch of Iomega Zip 100 drives didn’t have a power switch. Only the later model – the Zip Plus – came with one (it was shared with the eject button). This is quite annoying, as the drive is kept in a “always-on” state… many people didn’t bother at the time (20 years ago), but now it might become an issue, as those drives are becoming more rare and keeping it energised at all times might accelerate its deterioration.
So – I thought – why not add a power switch to my Iomega Zip 100 SCSI drive, so I can leave it cabled and ready to go at all times? Sounded like an easy and a good idea, so I attempted it. And suceeded!
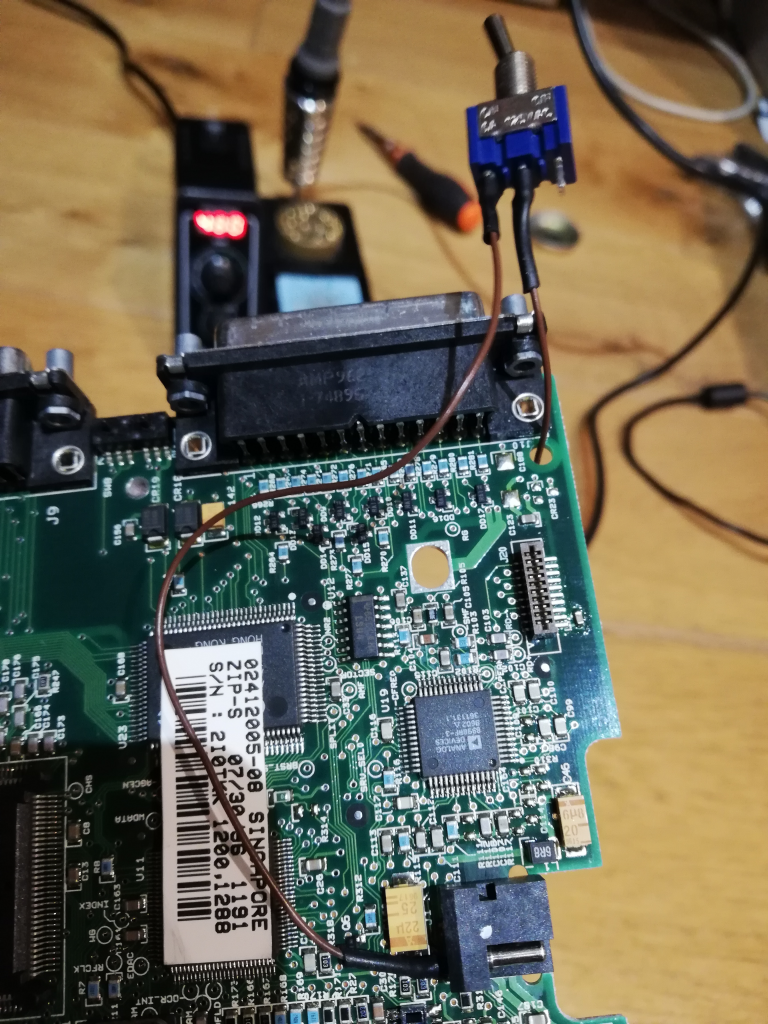
Below, I share the pictures of this little project. I begin by desoldering the power connector from the Zip drive board. I then lifted up the 5v leg of it. The idea was to solder a wire to this leg, then to the power switch and then another wire back to the Zip drive board (where the leg originally was soldered to).
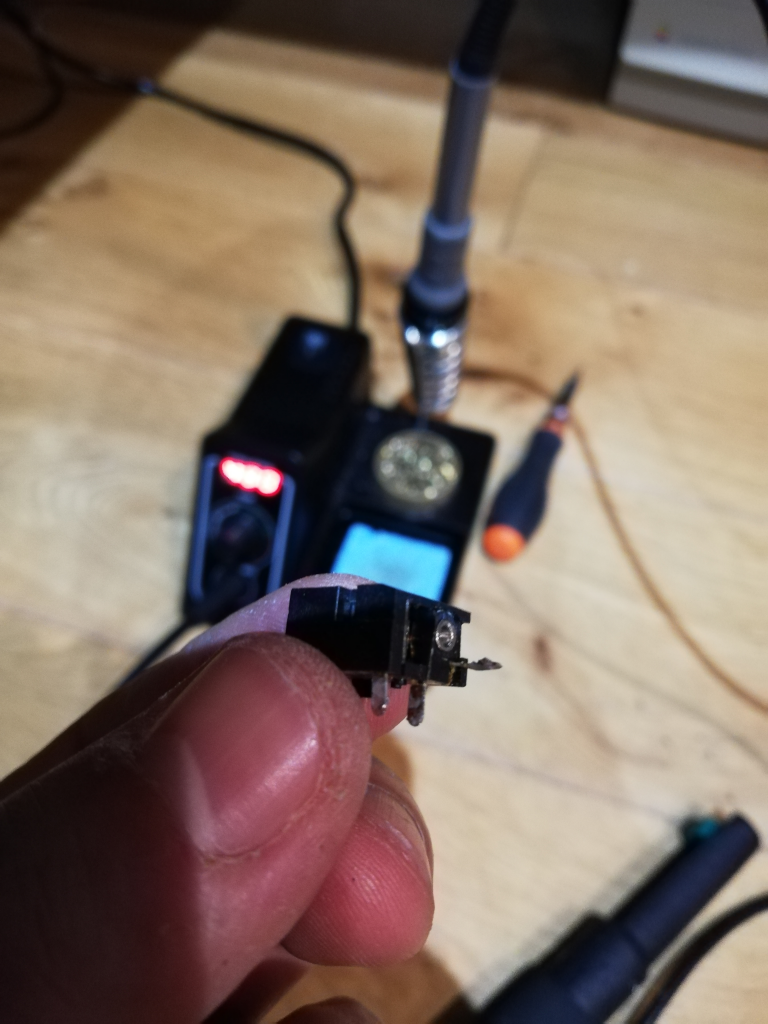
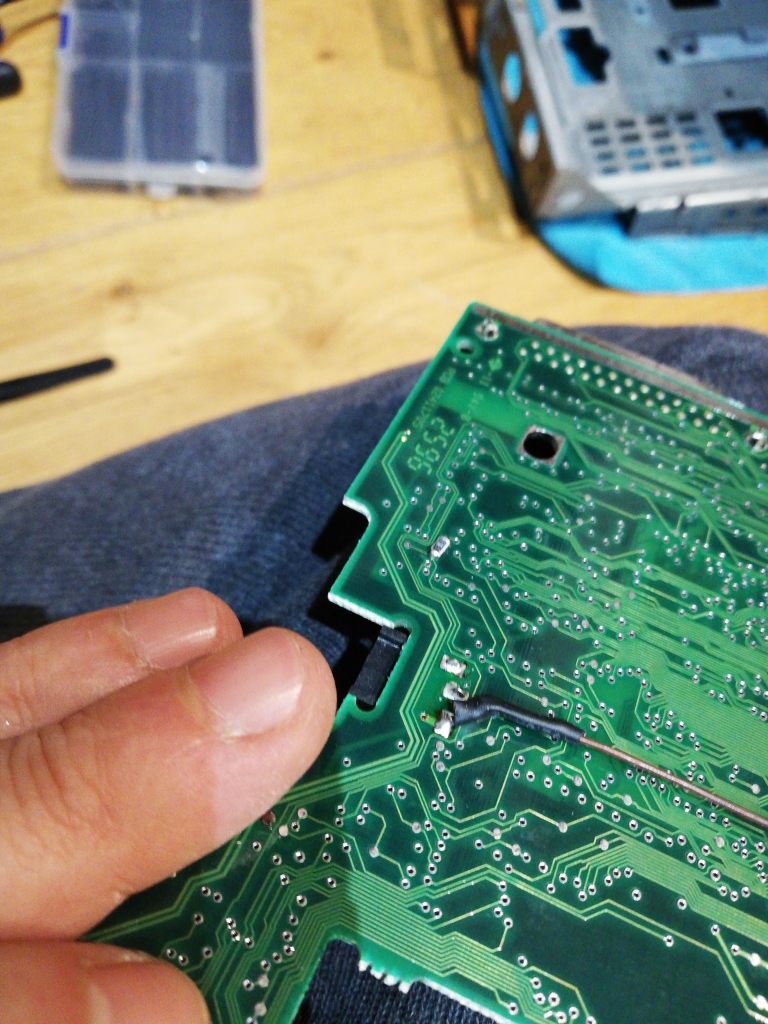
Below you can see the power connector soldered back to the board, but with the 5v leg isolated and soldered to the brown wire. This wire will later on be soldered to the power switch.
This is the back side of the board, showing the other wire soldered to the place where the leg on the power connector previously was.Even though the wire used is also brown, this is another wire.
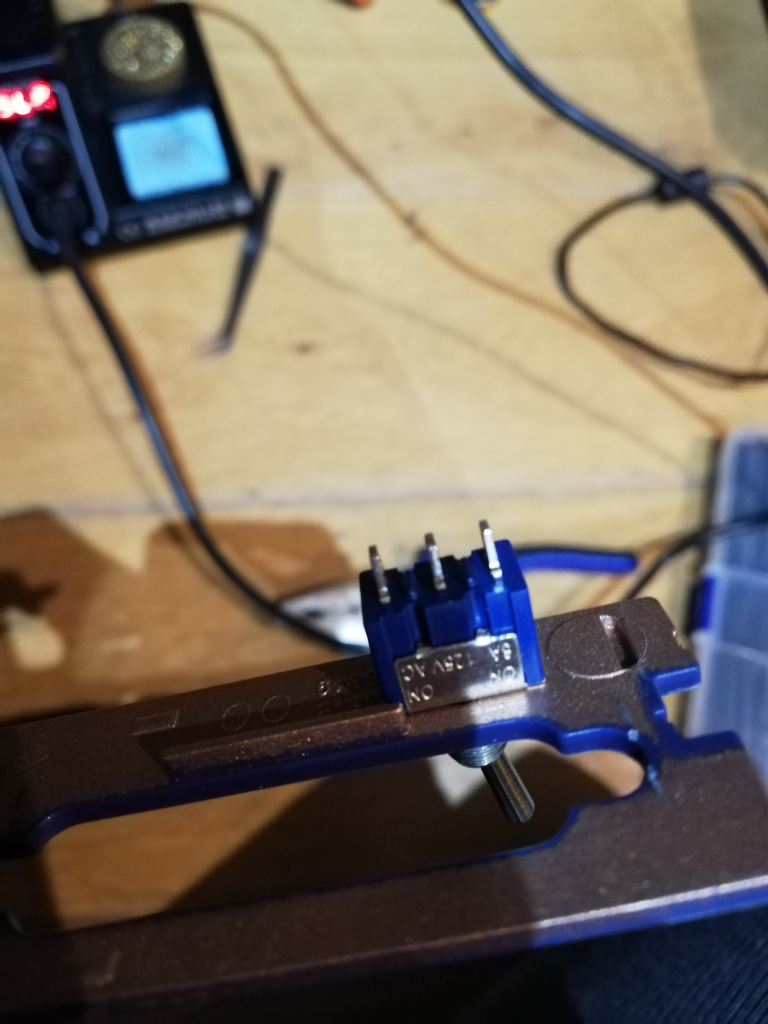
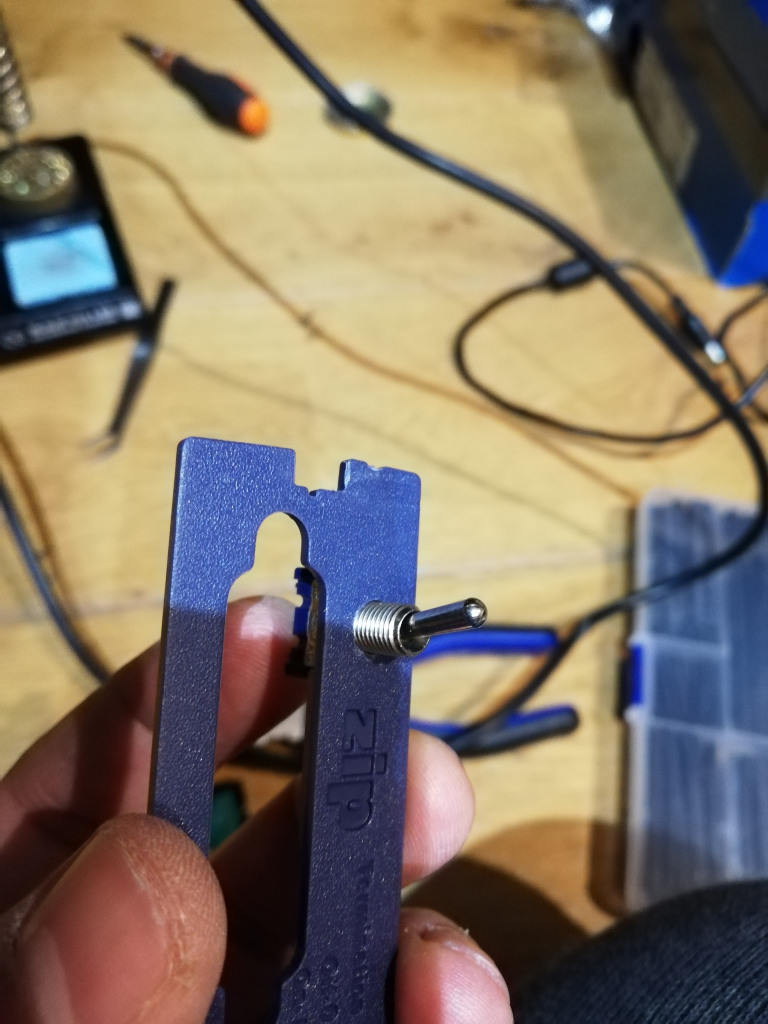
It was then time to prepare the Zip drive case to receive the power switch. I chose a small lever switch for this project, as it was what I had at the time. In the picture below you can see the whole drilled in the back of the case – just above one of the SCSI connectors.
Below you see the power switch in place (not yet wired).
Now, with the wires soldered in place

And now, with the switch in place, already in the process of assembling all together.
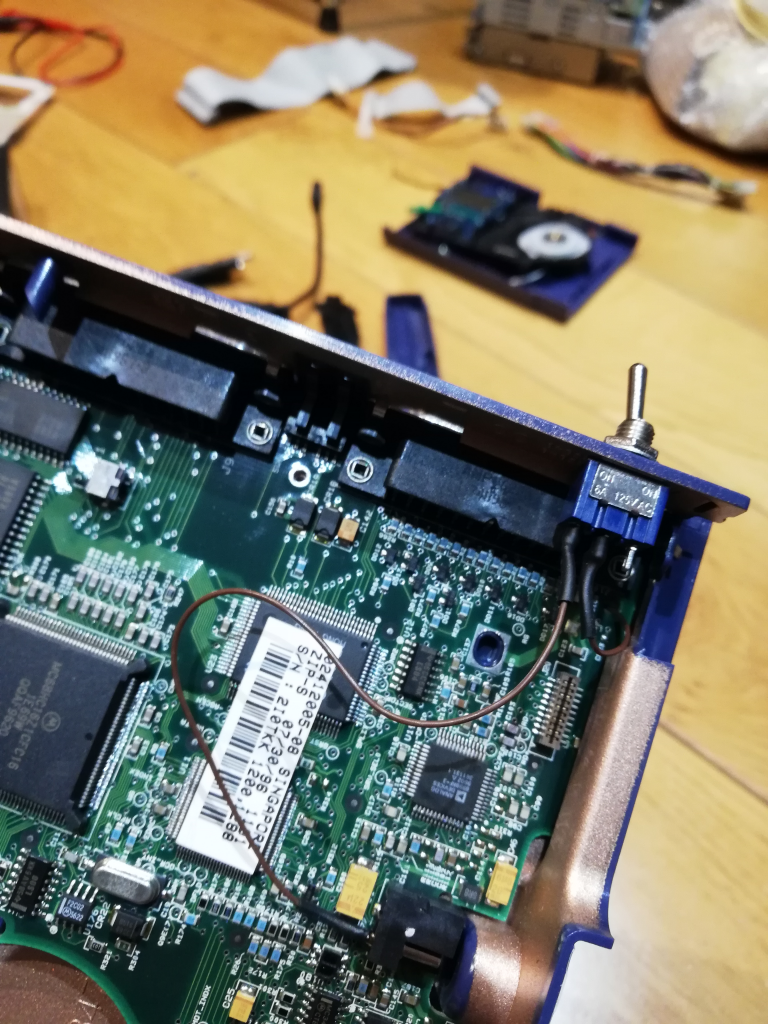
Back view:
That’s it! It works beautifully and I would say it is a must have addition to all old Iomega Zip drives. I have no clue why Iomega haven’t done this originally. Still today, it makes no sense to me!