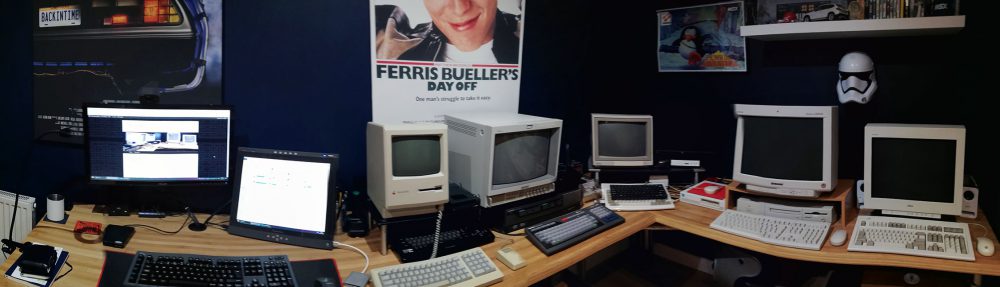
To give you some perspective, below you can see the pictures of the before and after. Then, you can follow up watching the videos. Enjoy!
In the previous video, you see that there seems to be an issue when powering up the 6100. Basically, upon first power on, it didn’t display any image and didn’t do anything. Just halted. If I powered it down and up again, it then booted, but right after it start loading the extensions, it rebooted by itself and, only then, it proceeded to a full successful boot. Of course I wasn’t happy with this situation, and I was suspecting the lack of a CMOS battery could be the cause of this. So, I ordered a new 3.6v 1/2AA battery from Amazon and installed it as soon as it arrived, yesterday. Not surprisingly, the Mac started working as expected upon first boot try.
In this video I show an attempt to repair an external Macintosh M0130 floppy drive I bought at eBay for £30. Seller sold this as for parts or not working as he said he was unable to test it – not unusual, as you would need a very old Macintosh to plug this in.
My hope was that the drive would be fully functional upon arrival, but for my disappointment, it wasn’t. Floppy disks wouldn’t get into the drive easily (I had to push them hard to get them in), and it wouldn’t eject the inserted disks afterwards. Needless to say it wasn’t reading the disks either.
So, I was determined to attempt a refurbish to this drive, as I do have a spare internal floppy removed from a non-working Mac SE that I thought it could work as a donor to this project. In the end, I didn’t have to try the “transplant” as the old drive did work after some hard cleaning and lubing works.
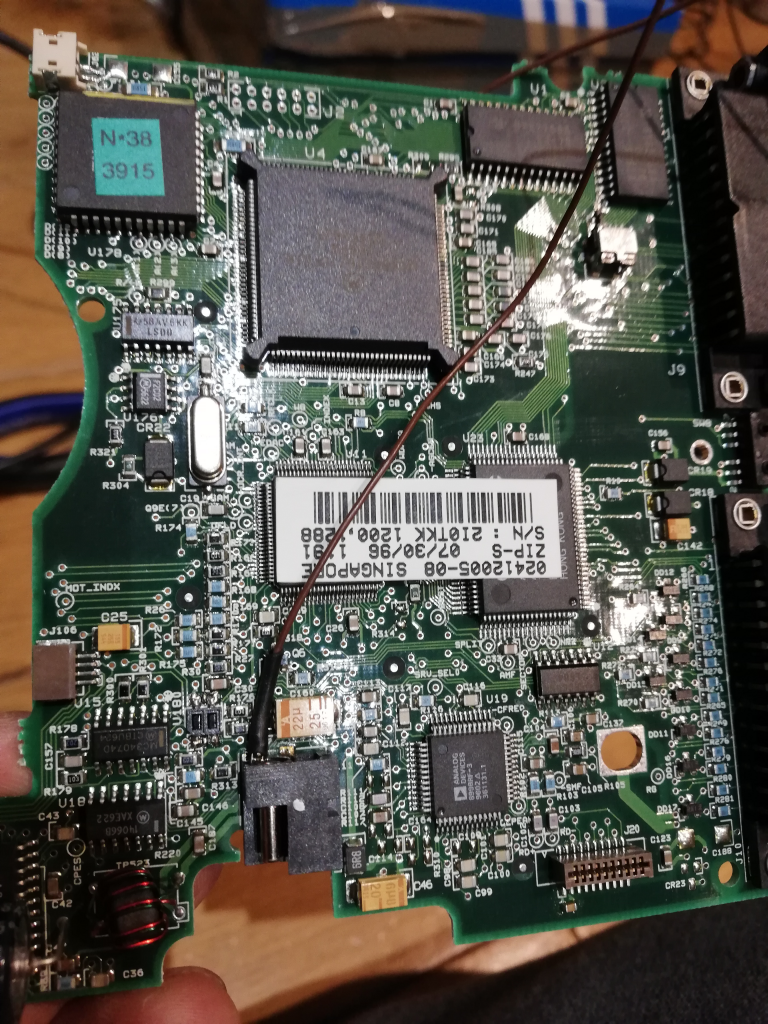
The first batch of Iomega Zip 100 drives didn’t have a power switch. Only the later model – the Zip Plus – came with one (it was shared with the eject button). This is quite annoying, as the drive is kept in a “always-on” state… many people didn’t bother at the time (20 years ago), but now it might become an issue, as those drives are becoming more rare and keeping it energised at all times might accelerate its deterioration.
So – I thought – why not add a power switch to my Iomega Zip 100 SCSI drive, so I can leave it cabled and ready to go at all times? Sounded like an easy and a good idea, so I attempted it. And suceeded!
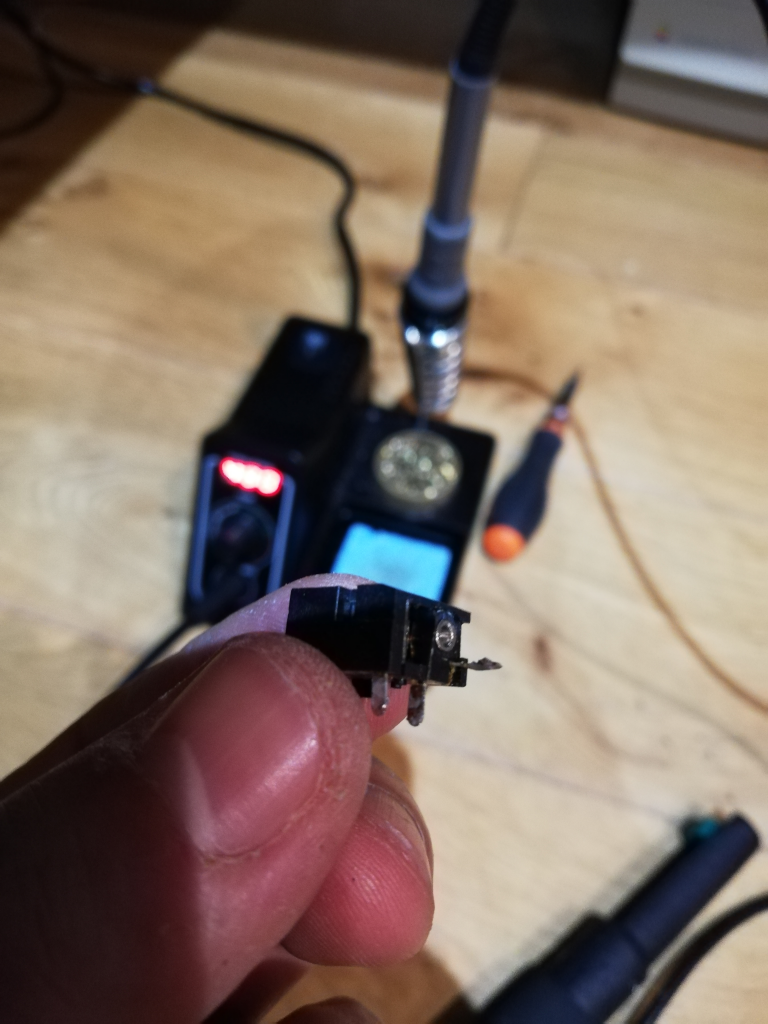
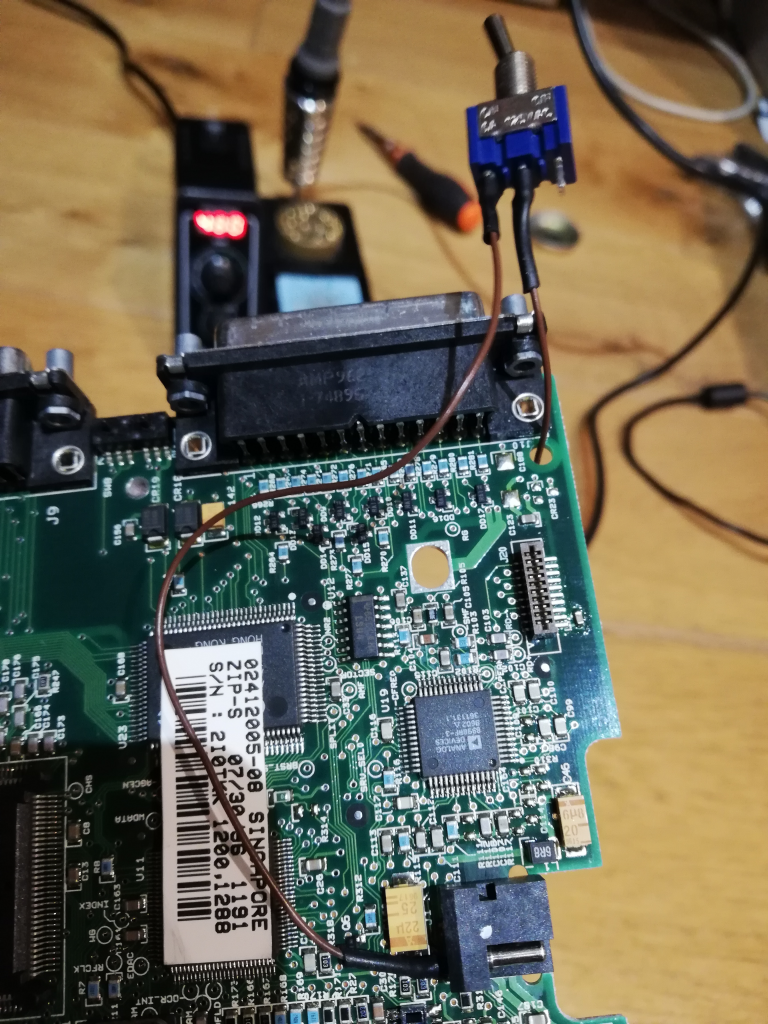
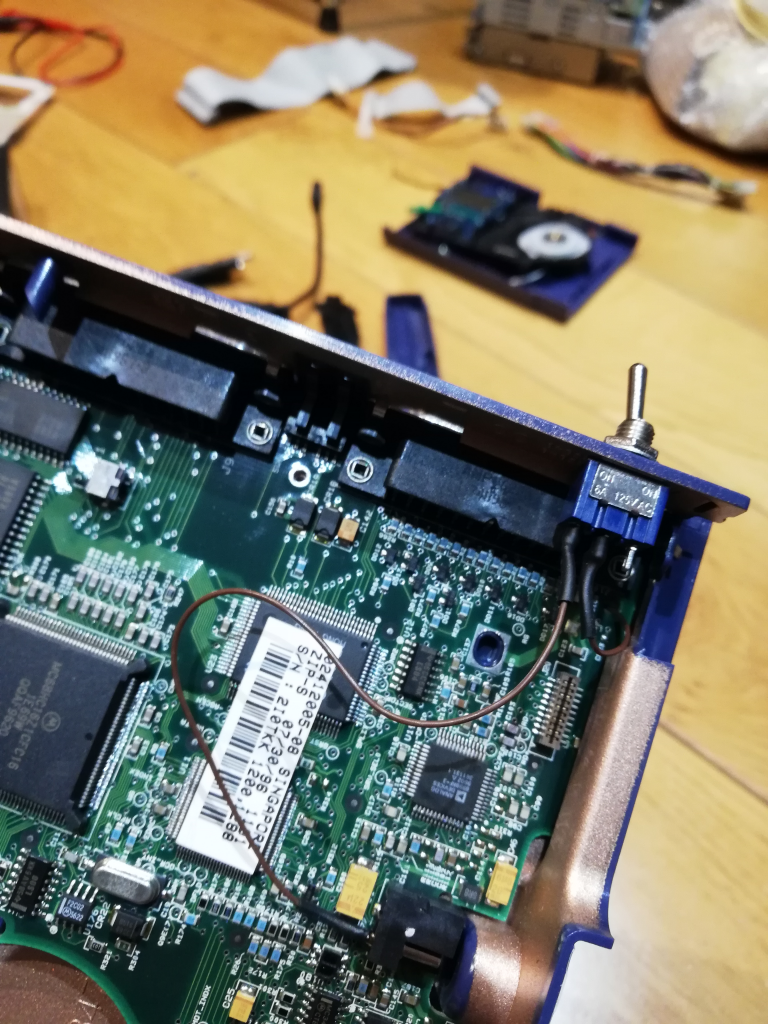
Below, I share the pictures of this little project. I begin by desoldering the power connector from the Zip drive board. I then lifted up the 5v leg of it. The idea was to solder a wire to this leg, then to the power switch and then another wire back to the Zip drive board (where the leg originally was soldered to).
Below you can see the power connector soldered back to the board, but with the 5v leg isolated and soldered to the brown wire. This wire will later on be soldered to the power switch.
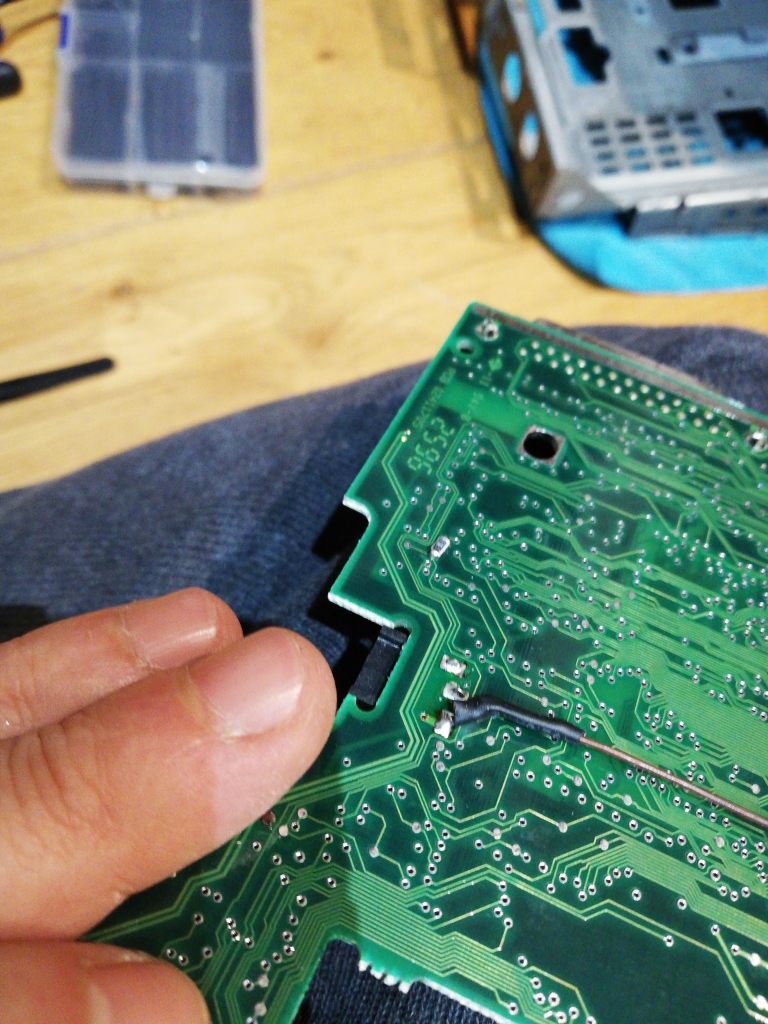
This is the back side of the board, showing the other wire soldered to the place where the leg on the power connector previously was.Even though the wire used is also brown, this is another wire.
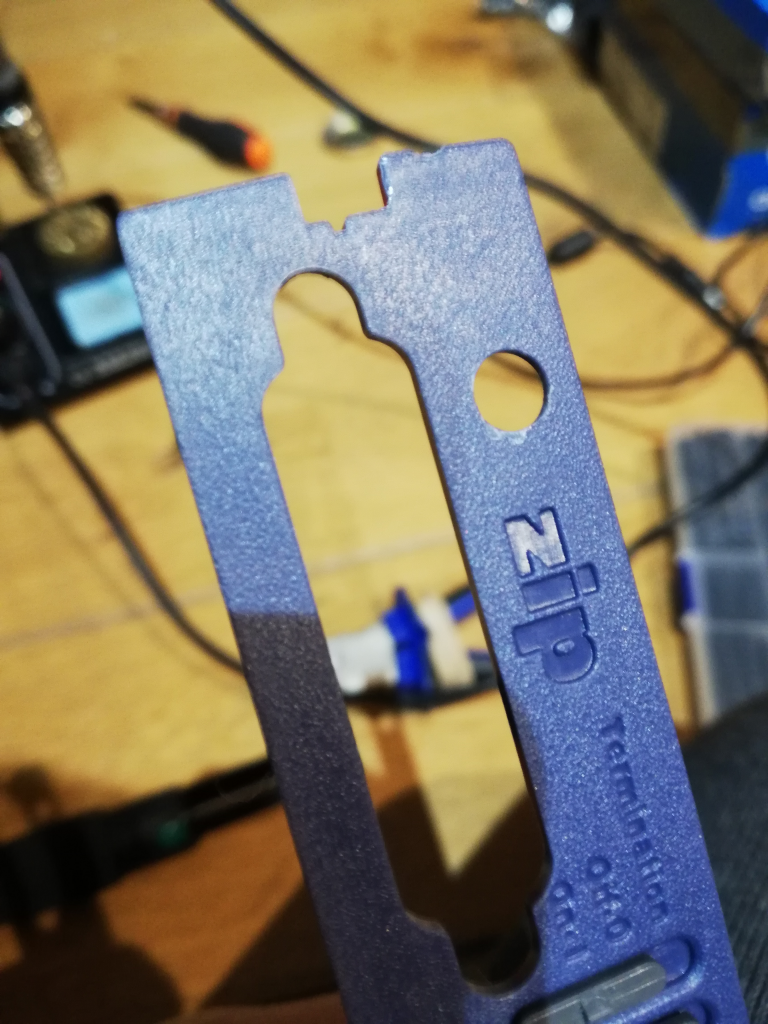
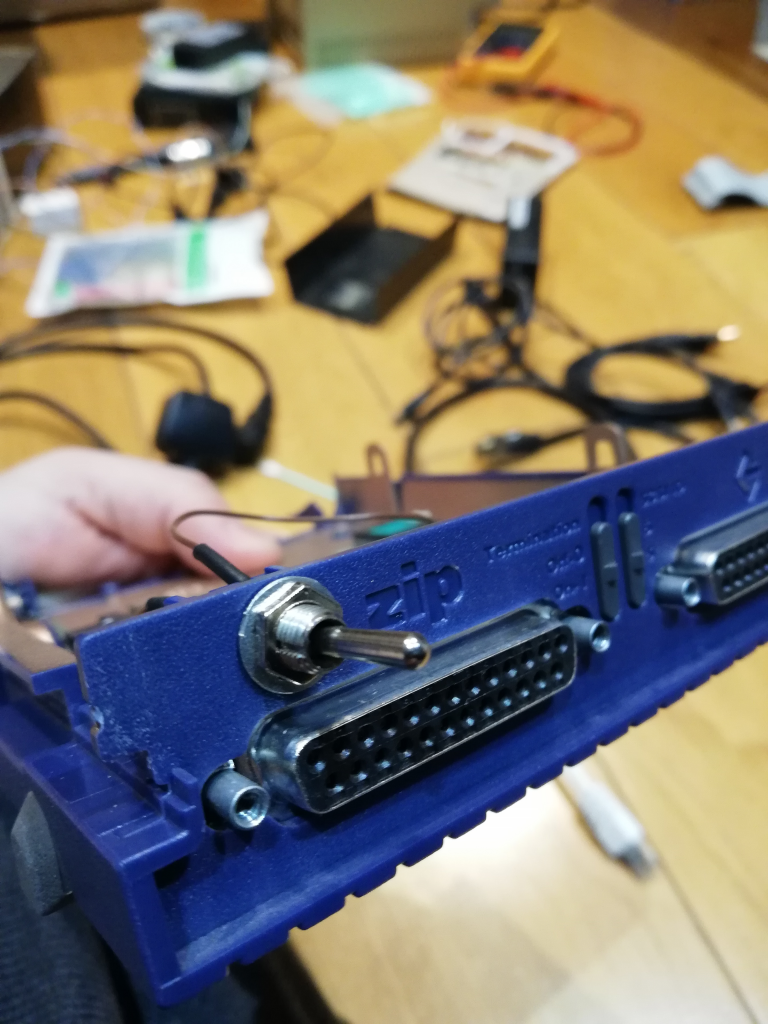
It was then time to prepare the Zip drive case to receive the power switch. I chose a small lever switch for this project, as it was what I had at the time. In the picture below you can see the whole drilled in the back of the case – just above one of the SCSI connectors.
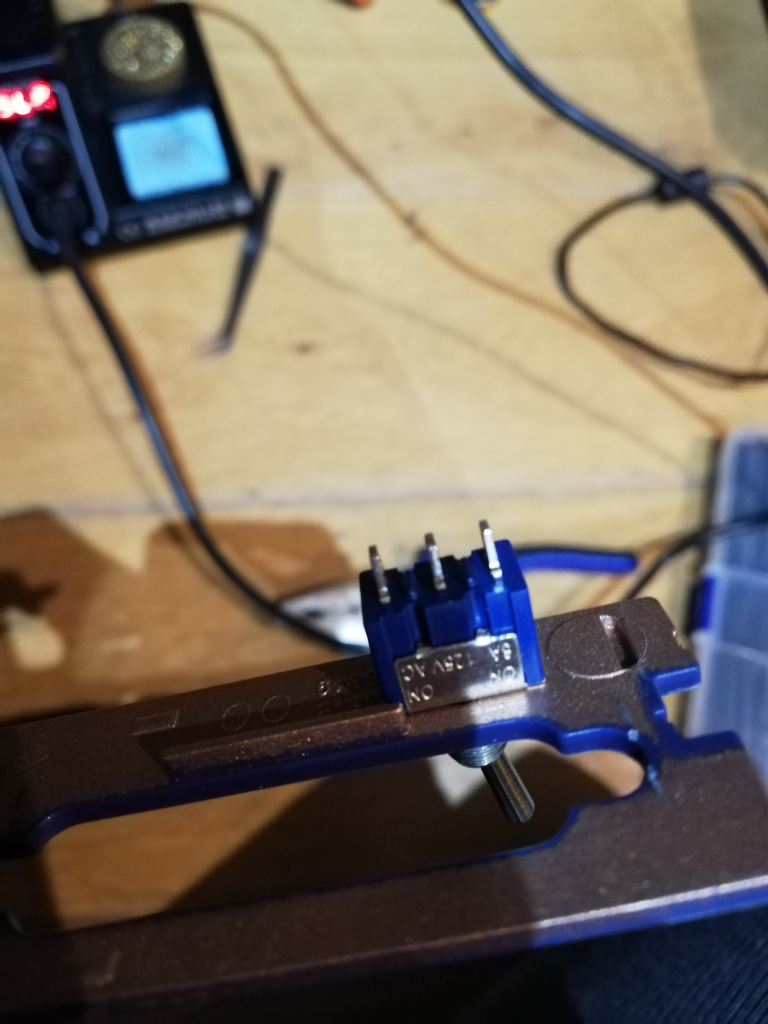
Below you see the power switch in place (not yet wired).
Now, with the wires soldered in place
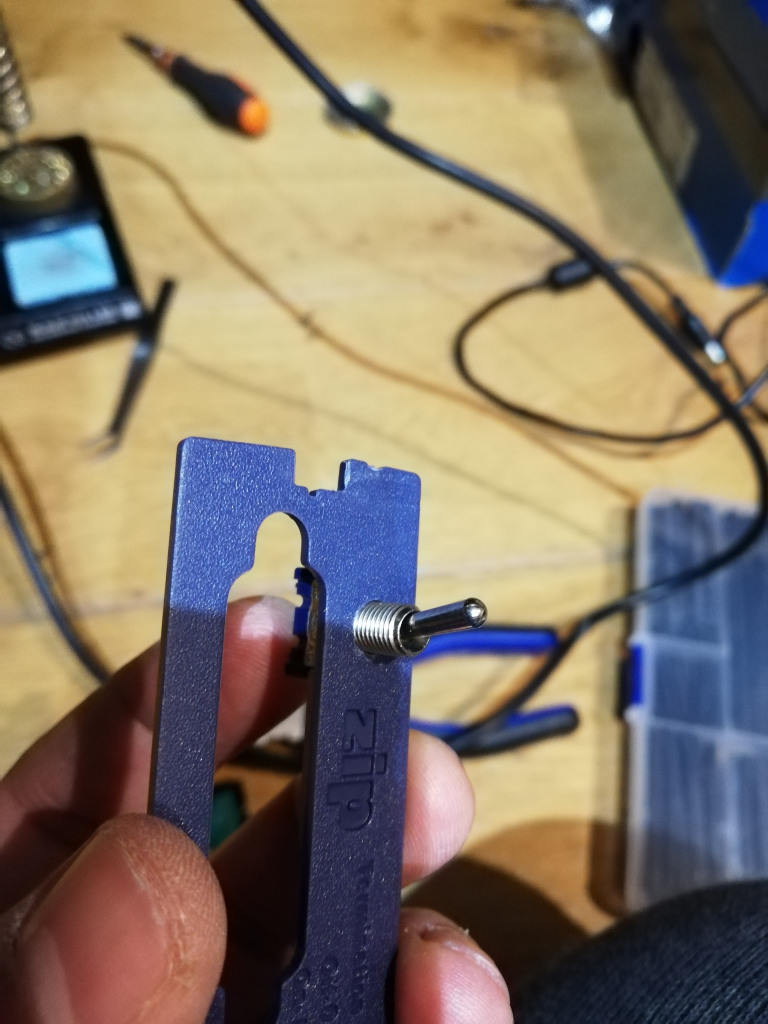
And now, with the switch in place, already in the process of assembling all together.
Back view:
That’s it! It works beautifully and I would say it is a must have addition to all old Iomega Zip drives. I have no clue why Iomega haven’t done this originally. Still today, it makes no sense to me!